The French manicure is the eternal classic look and a beauty must-have. This type of manicure is perfect for any type of occasion. In this article, we will teach you the steps to do this trendy nail art. Just keep reading!
Step 1: Prepare your nails
Start by washing your hands and removing your old polish with acetone-free nail polish remover. Your nail must also be well prepared to unleash its full potential.
Step 2: Give the nails the desired shape
The French manicure can go to any type of shape or length of nails. You can use a nail file or an electric nail drill to give the nails the desired shape you want. Indeed, medium almond or short square shapes are best for a French manicure.
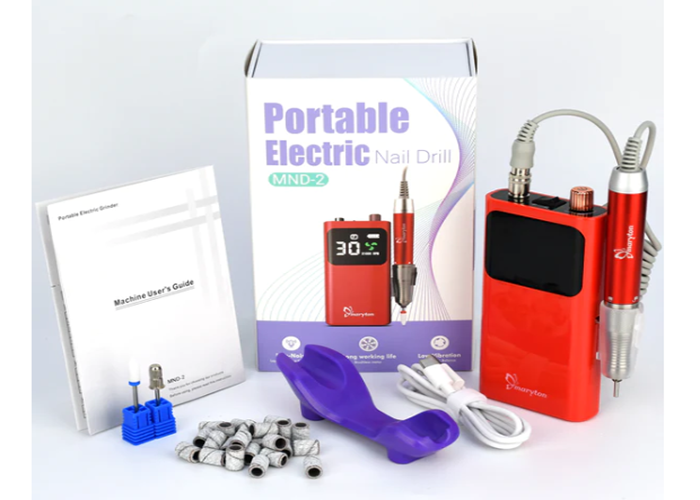 Rechargeable Maryton Pro Nail Drills 1,000 ~ 30,000 RPM
 Step 3: Polish the nail plate
Lightly buffed nails help the polish hold better. Buffing is mistakenly thought to be bad because it removes layers of the nail but that’s only if it’s done badly and excessively.
Step 4: Hydrate your hands and cuticles
Before pushing back your cuticles, soak them in cuticle oil. Then wash your hands and moisturize them with a cream. Before moving on, dehydrate the nail plate with alcohol or non-acetone nail polish remover to remove any cream and oil.
Step 5: Apply a base coat
It is important to apply a good base coat. This is what makes the difference between a professional manicure and one at home.
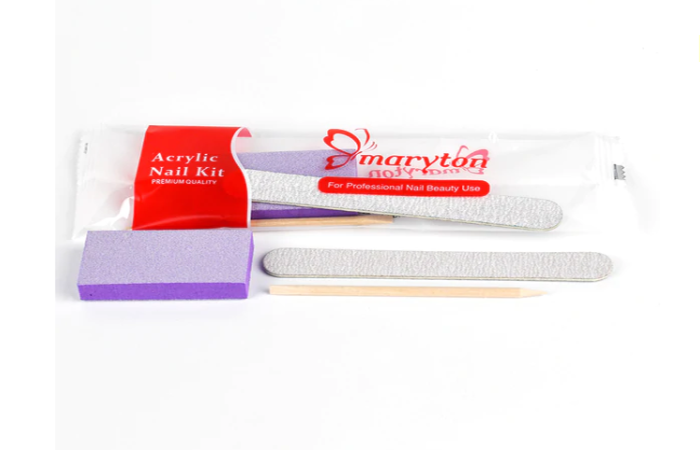 3 PCS Disposable Individually Packed Nail Manicure Sets
 Step 6: Paint the tip of the nail
Using a fine brush, start from the growth points and make a line in the shape of a ‘smile’ towards the free edge of the left side then the right side. Then bring them together and make a ‘smile’ on the free edge.
Step 7: Complete your manicure with a sheer pink shade
It is this touch that gives your nails a much more natural look. A sheer pink tint helps hide blemishes or yellowing on the nails.
Step 8: Finish with a thin layer of Top Coat
To seal and set your at-home French manicure, apply a thin coat of a shiny top coat.
Read also: CAN POLYGEL NAILS BE REMOVED WITH OIL AND SOAP?
Like this:
Like Loading...
Related