In addition to professional manicure equipment, applying semi-permanent varnish requires knowing the proper steps. Today, your nail supply specialist Maryton will explain to you how to apply semi-permanent varnish step by step.
Step 1: preparing the nail
For a better adhesion of the semi-permanent varnish on the nail, the ideal is to apply a primer: this will allow it to last longer. Let it air dry.
Step 2: application of a primer
Before applying the varnish, it is advisable to prepare the nail correctly, so that the semi-permanent varnish remains as long as possible. Clean your client’s nails with a remover and push back the cuticles with a cuticle pusher. Then, file his nails according to the desired shape and length.
Step 3: applying a base coat
The base coat or corrective base is essential, which can protect the nail from semi-permanent varnish. During this step, apply a thin layer while covering the ends of the nails, in order to prevent the varnish from damaging in these areas. Dry the base coat with a UV or LED lamp.
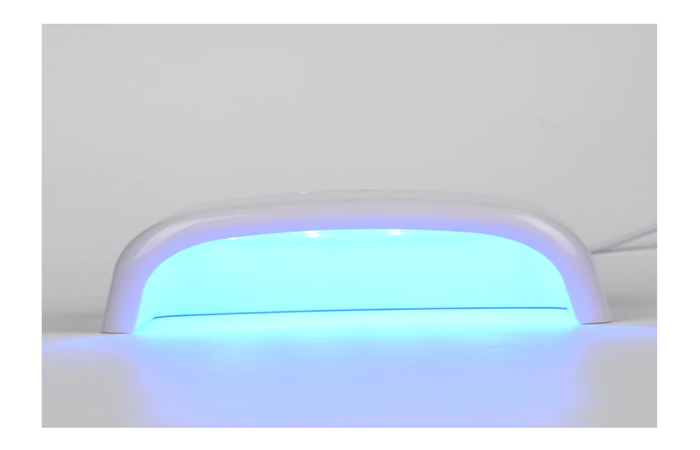 Small Size Sunlight Touch Control USB UV/LED Nail Lamp Dryer with 10 PCS Lights
$12.90 Step 4: laying the semi-permanent varnish
You will need to apply a thin coat of semi-permanent varnish to the client’s nail, in the color of her choice. Drying the nails with the UV or LED lamp, while the drying time depends on the power of the lamp.
Step 5: applying a top coat
Don’t forget to apply a small layer of top coat on top. Not only does it bring even more shine, but it freezes your nail art, to prevent it from being damaged.
In addition, you also need a gentle manicure kit to take care of your nails on a daily basis.
Read also: The foot care to be offered ideally before the application of nail polish
Like this:
Like Loading...
Related